Add cover images to blog posts in Material for MkDocs
Modify Material for MkDocs to include cover images on the blog index page.
A simpler way
The example in this blog post can be recreated in a much simpler way using the suggestion here. I'm leaving the blog post up as it'll be helpful for anyone wanting to do a more custom layout.
Material for MkDocs recently added blog support. This is a huge (and brilliant) addition.
One option it doesn't seem to support (yet) is cover images for blog posts. The default look and feel on the blog index page is quite text heavy:
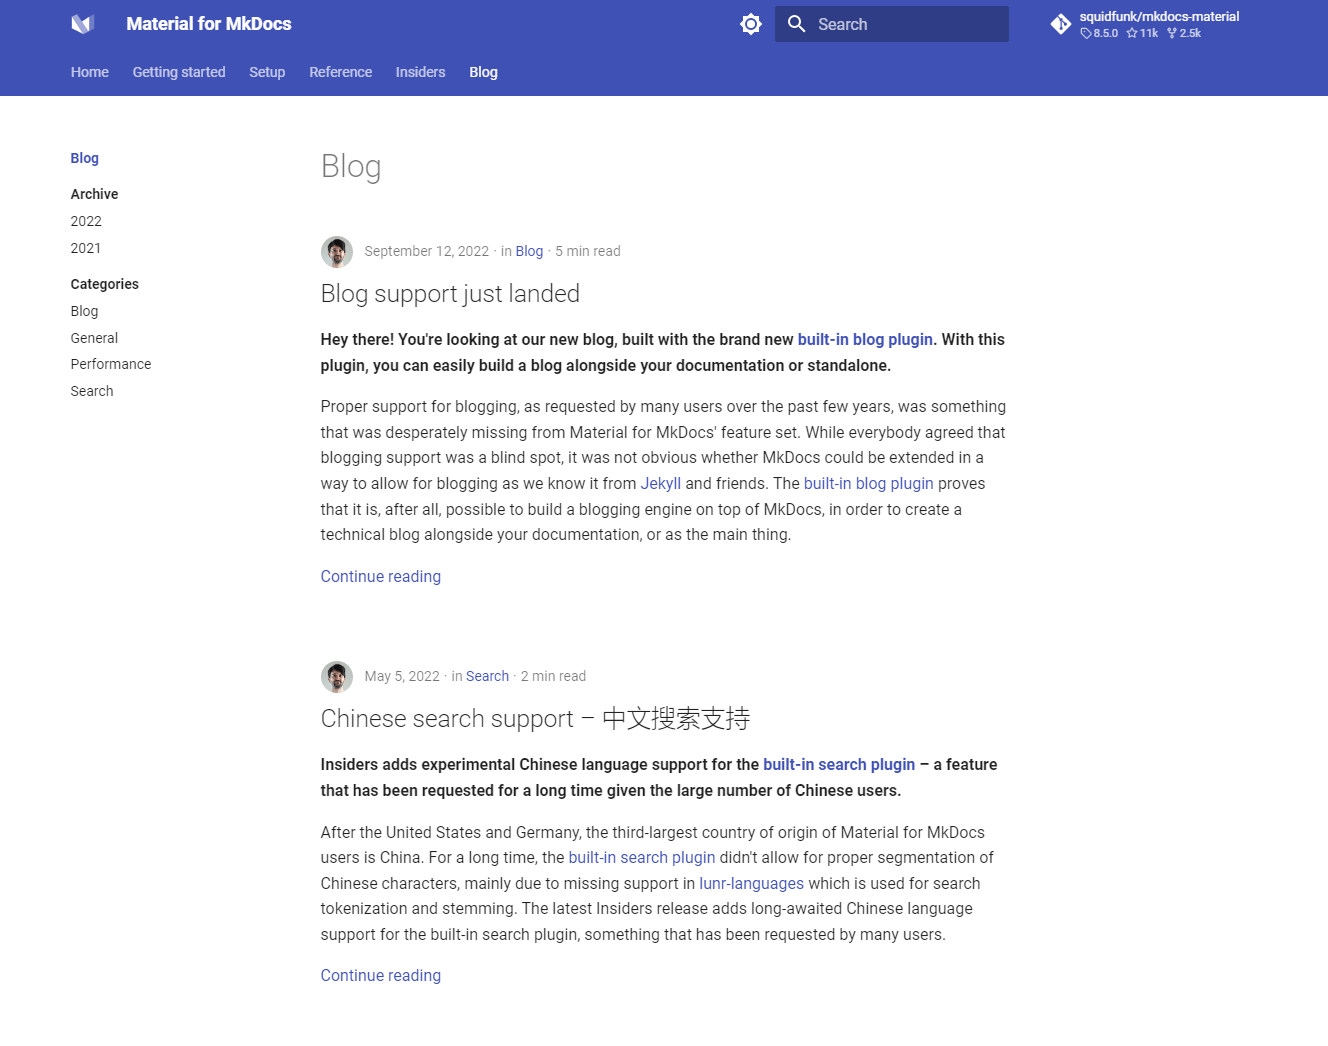
Many blogs include a cover image for posts, which appears on the index page. It gives readers more information about the post and breaks up the text. Good cover images draw the reader in.
Extending Material for MkDocs
Hopefully, the theme will add support for cover images eventually. But in the mean time, you can add them using theme extension. Thanks to Material's careful, modular design, and MkDocs' theme overrides, you can target and override parts of Material's functionality.
Add a cover image for posts on the blog index page
Let's walk through adding a cover image that displays on the blog index page.
Add the image
Make sure you've added the image you want to use to the project. You can put this wherever you want: with the other images for the post, or in a general cover_images directory, for example. Make a note of the path.
Set the image in the blog post
In your blog post, add a custom variable to your frontmatter, named cover_image, and provide the image name.
Image path
If all your images are in the same location, consider leaving out the full path, and adding it to the template in the next step instead. Only include details in cover_image that are custom for each blog post. For example, if all blog images are in the format blog/images/post-title/image.png, include post-title/image.png in the frontmatter, and blog/images/ in the template file in the next section.
Set up the theme override
- Create a directory at the root of your project named
overrides. - In
mkdocs.yml, set thecustom_dirvariable tooverrides: - In
overrides, createpartials/post.html. - Copy the contents of the post partial into
post.html. This is the file that controls how the theme displays posts on the index page. - Near the end of the file, there are a few lines of code that handle displaying the post preview:
- Modify this to add the cover image:
- Start MkDocs locally. If it's already running, you need to restart.
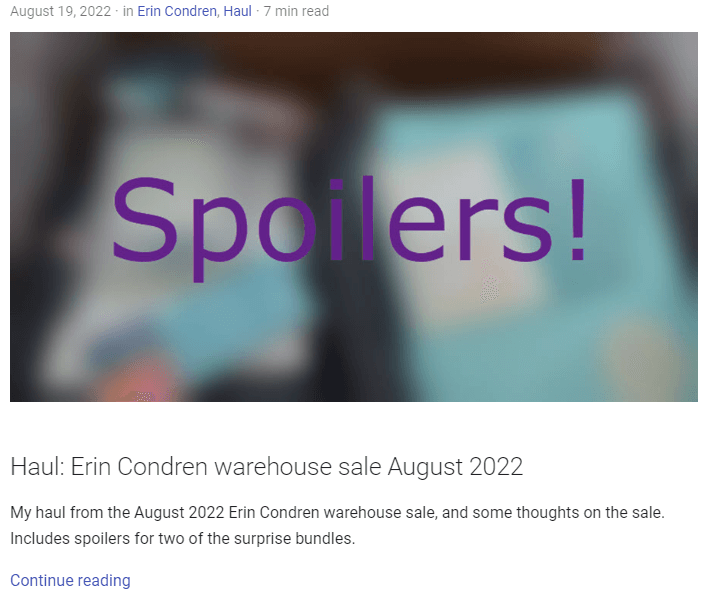
You'll see the following layout (with your own image and title).
More layout tweaks
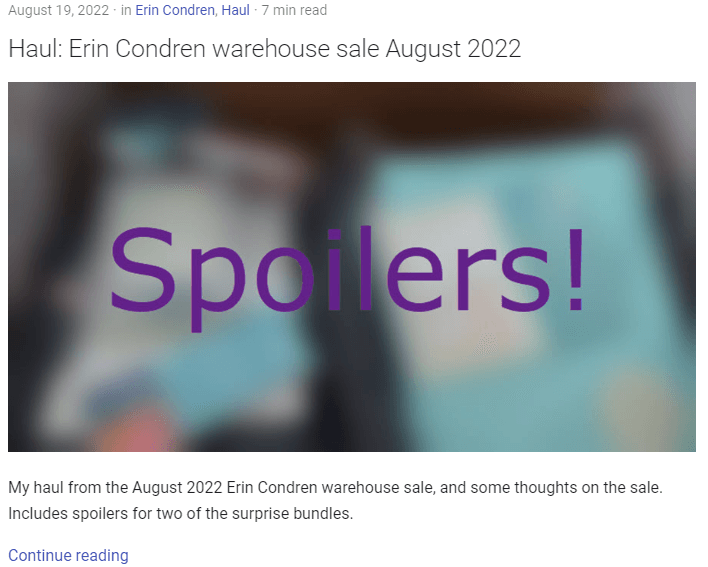
You can modify the layout further if you wish. I wanted the title to appear above the image. To achieve this:
- Add a
titleparameter to the blog post frontmatter, and delete the main title (the<h1>or#>). - Edit
overrides/partials/post.htmlas follows: - Restart MkDocs. The title now appears above the image:
Styling, and even more customisation
Learn more about customising the look and feel of your site in the documentation.
Next steps: Social cards and cover images in posts
One nice feature of Material for MkDocs is the ability to automatically generate social cards for your content. If you don't want to create custom cover images, you could investigate using this plugin, then linking to the autogenerated social cards.
You could also modify posts so that the cover image appears at the top of the full blog post, not just on the index page. Start by reading up on theme extension, then try overriding the blog-post.html template.